


How To: Integrate Google Maps Into Your Website

The first step to integrating Google Maps into your website is registering an API key with Google. Here's how.
In order to embed Google maps into your website, you will first need to register an API key with Google. If you do not have a Google Cloud Platform billing account you will need to set this up before getting a key. Follow the instructions below to receive your Google API key:
1. Go to the Google Maps Platform
2. Scroll down and click 'Maps'
3. Click 'Get Started'
4. Pick your product: Select Maps and click 'Continue'

5. Select a project: Enter your project name and agree to Terms of Service
6. Set up your billing: Connect to your Google Cloud Platform billing account
7. Click 'Credentials'
8. Click 'Create Credentials'
9. Enable API for your project
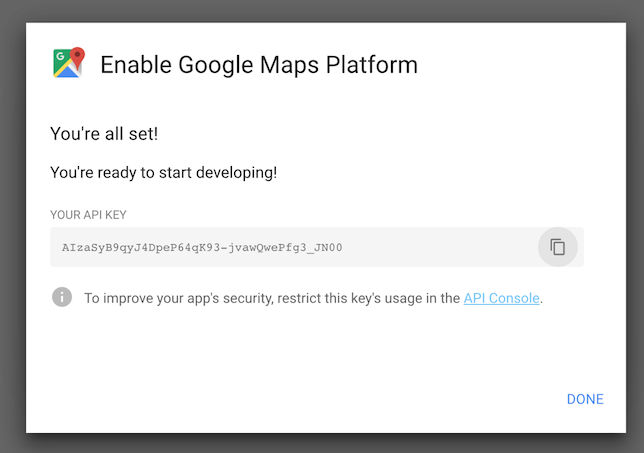
After you enable the API, send the API key to your developer for placement on the backend of your website. It will look like this:
Why do I need to input billing information?
You are required to set up a billing account with Google before getting a key. For pages on your website that have Google Maps integration, Google gives you 28,000 free page loads per month. After that it's $0.007 USD per map load for the first 100,000 map loads. So essentially, it's free. But to get the key you have to set up the billing account with a credit card on file.
Why integrate Google Maps on your website?
Integrating Google Maps on your website provides a much better user experience for visitors. Once you have your Google Maps API set up, you can display a wide variety of map configurations on your website to show various locations for your business on an interactive map, easily link to the Google Maps app for people requiring directions on mobile, and more!


